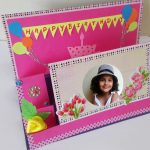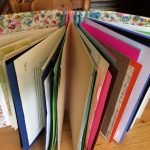
Making pop-up scrapbook DIY is a great way to add an interactive element. You will need 1 sheet 12×12” of solid color background cardstock, coordinating color cardstock for photo mats, and patterned paper; 3 4×6” pictures; clip art or stickers to match the theme; paper trimmer; scissors; glue stick; paper clip; and a ruler. Now, let’s take a look at the steps to make pop-up scrapbook DIY.
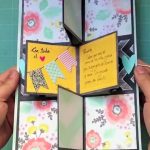
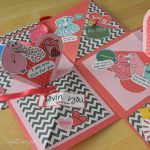
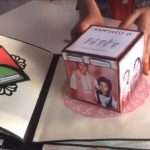
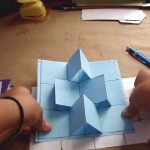
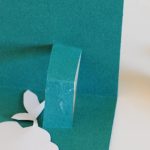
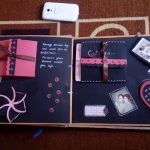
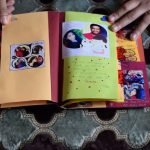
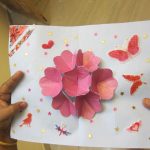
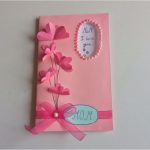
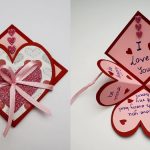
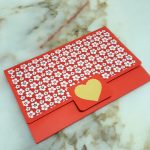
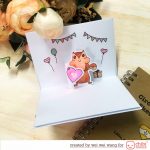
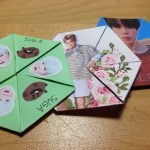
The first step to make the pop-up scrapbook DIY is to cut two wavy borders for the top and bottom of the page using the paper patterned. Then, glue the borders to the top and bottom of your solid cardstock background. Then, cut photo mats measuring 4 1/2″ x 6 1/2″ for each of the three featured photos and use the glue stick to adhere the photos. Then, glue the photos to the page. Then, cut a rectangle measuring 41/2×3” from the cardstock sheet. Then, cut a rectangle measuring 4×6″ from the patterned paper sheet and fold this rectangle in half. Then, make two slits in the middle of the paper. Then, open the paper and push the cutout portion forward. Then, glue the embellishment to the front section of the pop-up portion of the paper. Lastly, add the desired journaling and you get your pop-up scrapbook DIY.